
Sherry and Katie announced their Winter Pinterest Challenge last week and I knew I had to be a part of it this time. I love reading through all the challenges but never had the place to showcase something I've done. My goal after the last Pinterest Challenge was to have a blog so I could join in on the fun, and here we are. So I'm ready to play! Are you?!
Our girls are joined by guests Megan and Michelle this time around. Make sure you check out all their sites and link up to the Challenge.
Since we're in a cramped apartment right now, with nothing I ever NEED accessible, I had to do a lot of brain storming to figure out how I could participate, big or small. Some ideas:
1. Hair bows for the nieces to give them for Easter. Fabric would be easy to get....but where is the glue gun.
2. DIY some art....but where is the paint and would it even work in the new house.
3. Use the baking I did for my friend's son's birthday party....I only took one picture, major blogging fail.
4. Add the patches on a shirt with elbow holes....no clue where my craft supplies are.
5. Make Letter quotes for framing....I've only done this for others, with no pictures and are there any frames I can get to in the apartment.
Needless to say, everything seemed out of reach, but I landed on one of the above options, numero 5. So stay with me as this post is a bit thrown together in the final display. I wish I had better eye candy for you all...goal for next Pinterest Challenge for sure.
My original inspiration came from the pin of the website youareyourwords.com. They take an image and words and merge them together.

I could actually never get the site to run, and wanting to do something for a wedding present I had no good pictures of the couple. So I did a completely different spin.
I decided to use words from something important to the couple (vows, bible verses, readings, etc) and form them into the Initial of their last name. I've done this as two Anniversary gifts and as a wedding gift.
I'm sure there is a much more simple way to do this in a photoshop program, but I'm old-school and have no tech skills, so I use what I know. And THAT folks, is Microsoft Word. The steps were pretty easy.
1. Choose a large, thick font that you like. If something isn't already a block letter, you can usually make it so by doing Right click, Font and then click the "outline" box. I chose "Cooper Black" the first time I did this and tried to use it for the others, but sometimes the curve won't work with the letter and how the wording lines up, so you'll have to play around with it. I wanted something with a bit more curve but sometimes straight lines have to do instead.
2. Make the letter a very large size. I found 400 pt to be good.
3. Then I print screened the image, and pasted it into Word. I cropped everything out except the letter itself. Now it's an image of just the letter that I can work with and even resize.
4. Click on the letter and under Picture:Format, choose the Text Wrap as "Behind Text." This will allow you to type your text with the letter staying in place behind it.
5. Center the letter and size it as large as possible.
6. Choose your text. Things to think about at this point include: how much text you have (will it be long enough), the spacing of text, how long various words are and where they line up in the letter.
7. Left adjust the text and begin spacing/tabbing to the beginning of the letter. Remember, depending on your text, you might not need to start at the very tippy top of the letter. The letter is just a guide to help frame your text into a shape. It WILL NOT fit exactly in the lines. That's what makes each one unique.
8. Finally type out all your text. Keep an eye as you go remembering how much text you have left. Sometimes you might need to add more of less on a line depending how the next line ends up. It's about what looks best. You might need to increase or decrease the size of your text too. *NOTE: You can make the final ANY size you want, so work bigger now. You may also want to adjust the spacing between lines.
9. When your text is all in, delete the letter.
10. Create a PDF of your document. Another option is making sure all the edit (you'll have a lot since the lines don't begin with capitals) are ignored so the document looks clean.
11. Make the view of your screen as large as possible to fit all the text. Then print screen the image.
12. Paste this image on an empty page in Word. Crop to see just the letter.
13. Using this image size it however you want. I've done 5x7s as well as 8.5x11. Using Word you can also created bigger sizes if your printer can do that.
This quote was part of my brother-in-law and sister-in-law's wedding gifts. I actually read this reading at their wedding, so I thought it was perfect for part of their gift. Good news is they loved it. It's the poem "Love" by Roy Croft.
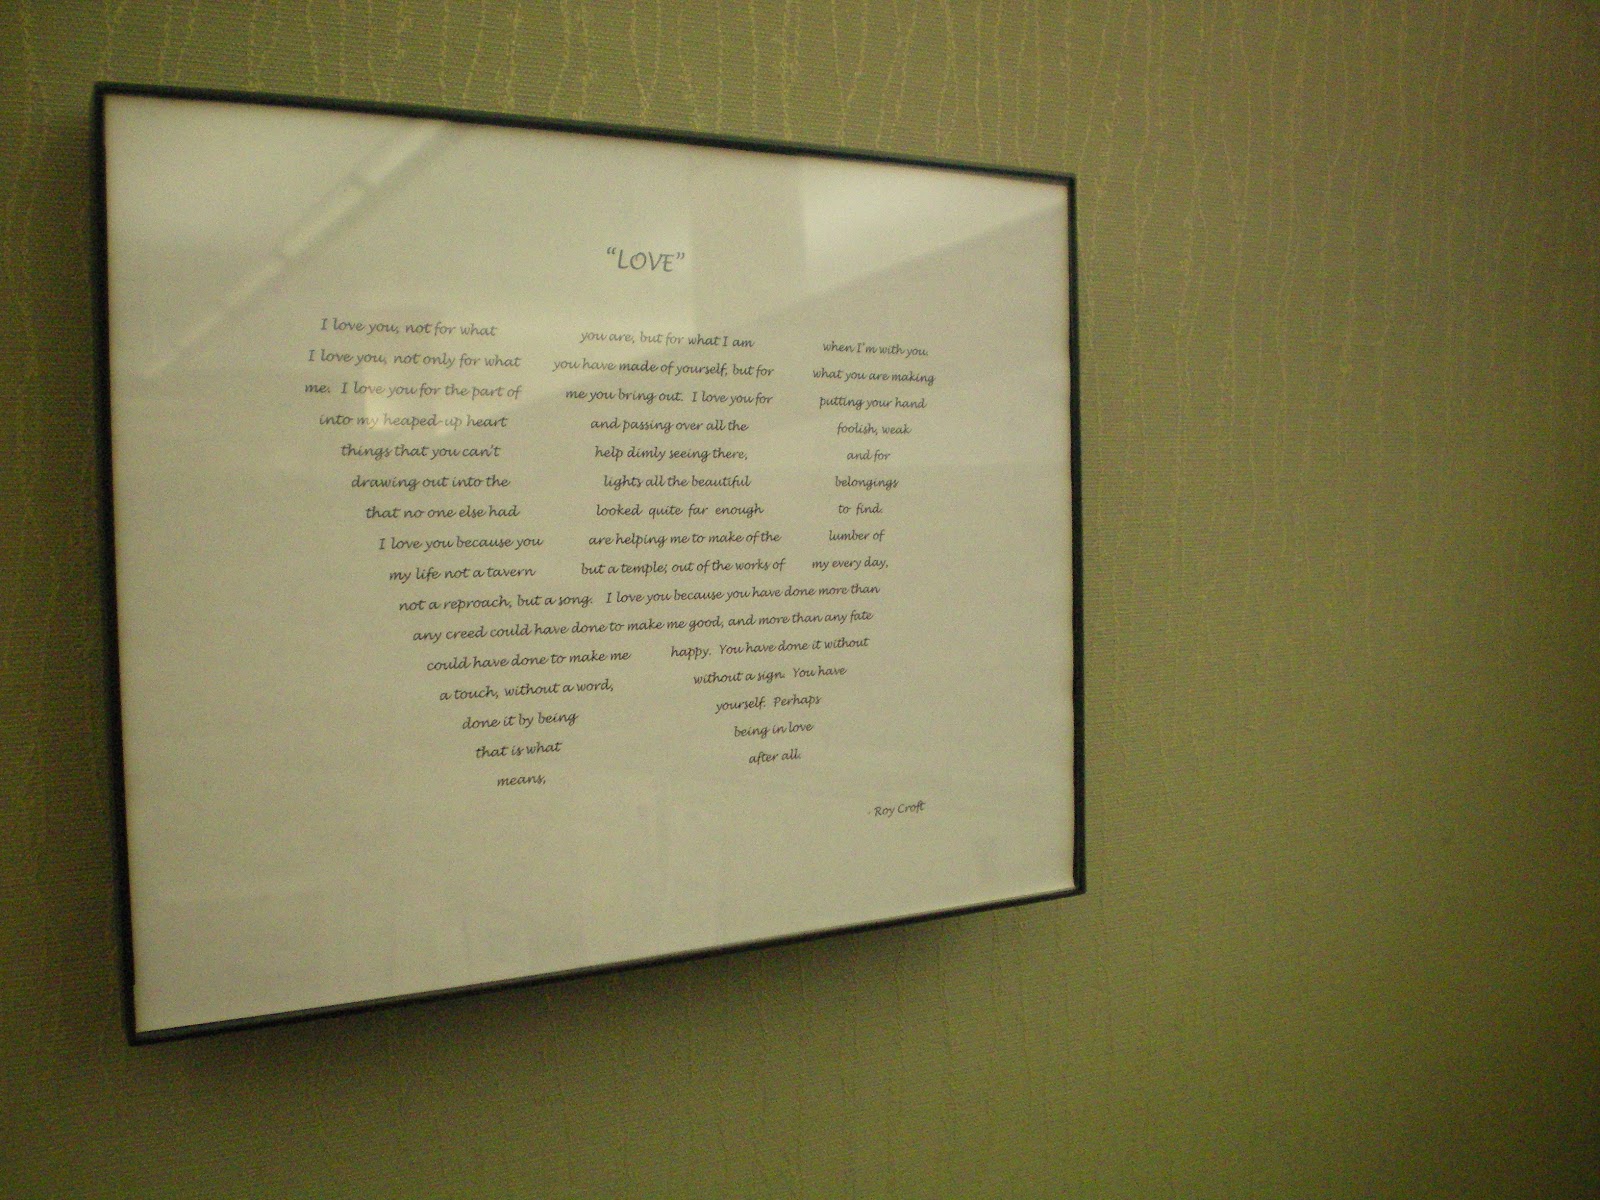
(Excuse the horrible glare hanging in my cubicle)
For the gift I used a simple wooden frame, but I actually also love this thin black frame. This was just a document frame that momentarily displaced by Engineering Intern license. I might find a place for this at home since we're "W" too.

LOVE -by Roy Croft
Another option is to throw in a pop of color. For the Anniversary presents I made I used black lettering but cut out a thin color frame to go around it inside the metal frame. Here I gave color to the text since the frame itself was intricate.
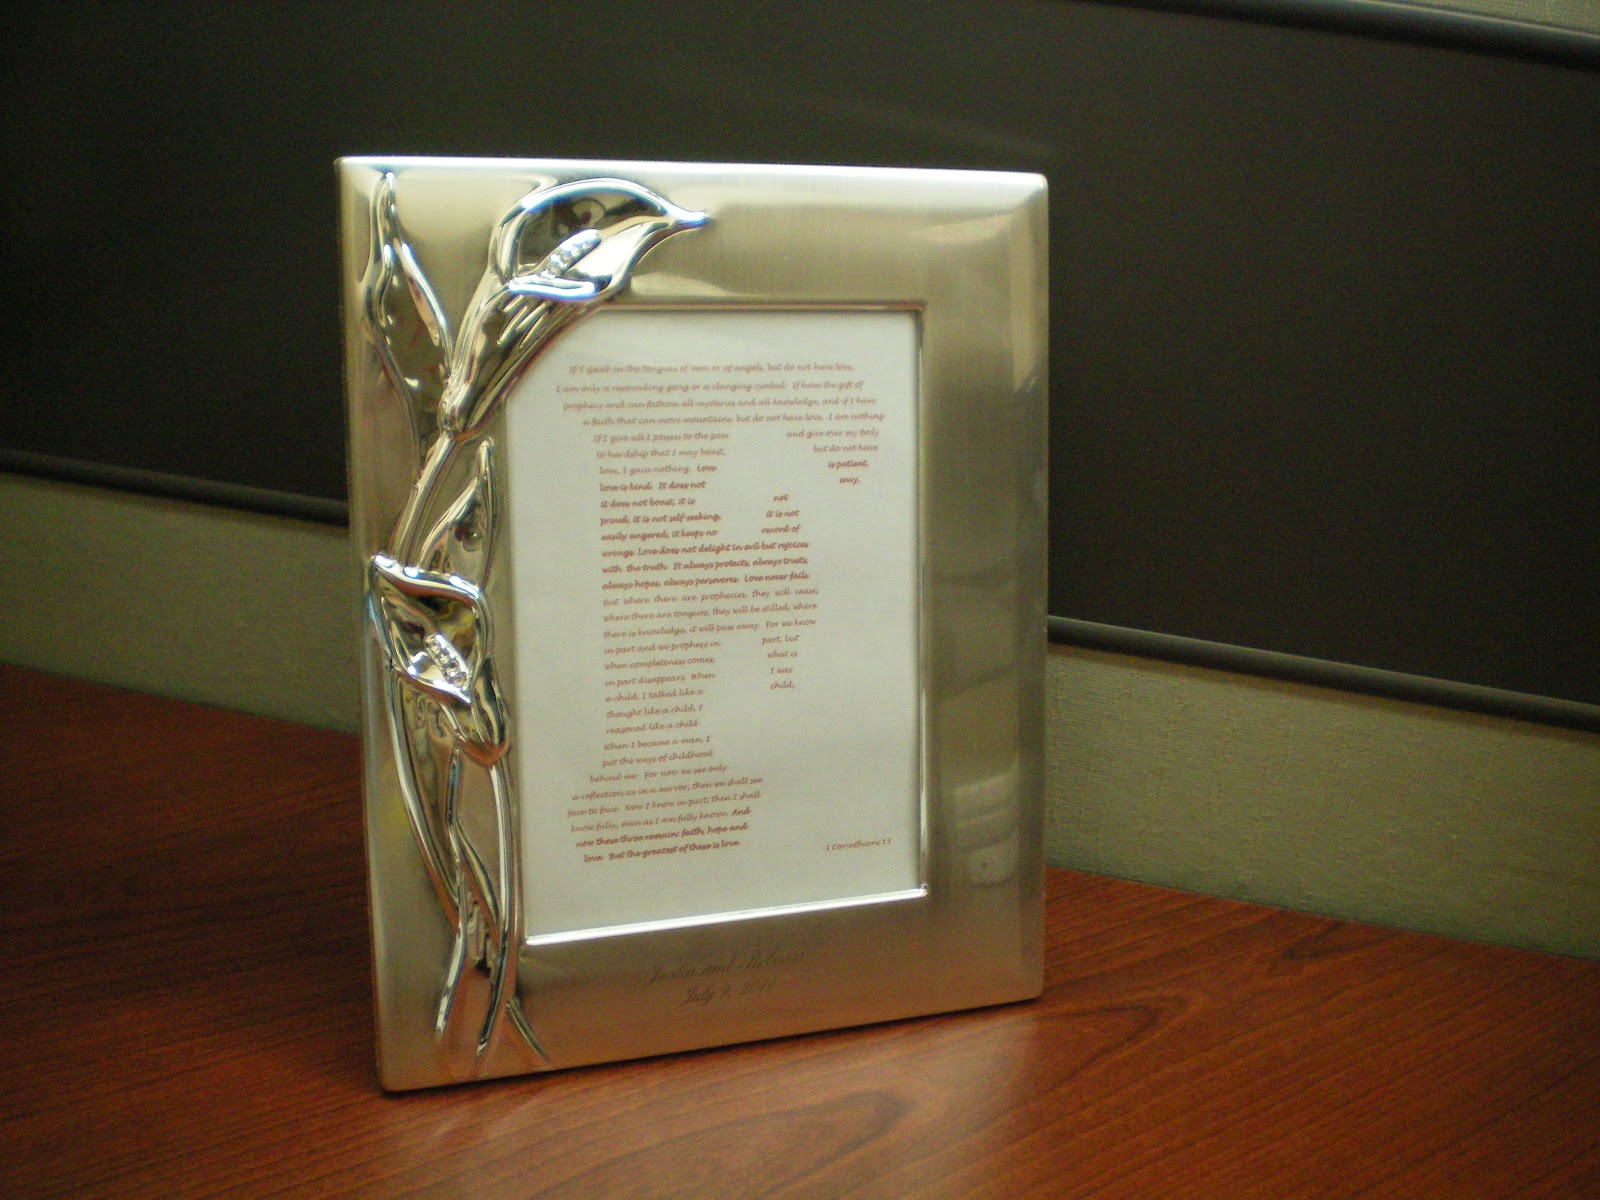
Let's pretend my husband took my last name, and we'll be "F' for now since this was a nice wedding frame
I wanted to only do the part of the reading that was done at the wedding, but it was pretty short (seen in bold below) so I grabbed the entire verse and made those select verses bold so they would stand out.

Hope this gave you some ideas on how you can make unique and personalized gifts. I would do this for everyone if I could. I thinks its simple and sweet. Seriously not sure why I haven't made one for myself yet. Guess I'll get on that when I need to add art in our new house.
If you stopped by, THANKS! Feel free to paste a link in the comments to your website so I can check out what you did. Also, make sure you head over to the blogs of the Pinterest Challenge Hosts and see what others did and link in there.
Happy Pinning!
Love typography art!
ReplyDeleteThat's such a better name than Letter Quotes. Why didn't I consult you first!?!
Deletehahaha :P
DeleteWhat a great idea! I'm a big fan of sentimental art :)
ReplyDeleteThis is so cool! I really like the letters..
ReplyDeleteI found you today from Young House Love's Pinterest Party where I'm #584. I'd love for you to stop by my blog and leave a comment, too!
~ Megin of VMG206
It wouldn't let me open 584-Laundry Room Re-do. Sorry :(
DeleteVisiting from YHL! I love the way yours turned out! It's so pretty! I may try it out (pinned for later!).
ReplyDeleteI made an "F-letter" project too for the Pinterest challenge. http://thesepeachroses.blogspot.ca/2013/02/string-art.html
Wow, yours is huge!! I have been wanting to do a nail/yarn art like that, definitely on a smaller scale though. Greet job!!
DeleteI did this a while back with our vows and I never got around to doing anything with them! We're working on our master bedroom right now, so I'm hoping to get around to it soon!
ReplyDeleteI LOVE your new headboard. I am trying to convince my husband that is our best/cheapest option in the kinda small guest room we will have in our new house. Good luck with the rest of the work in your bedroom!
Delete